$0.00

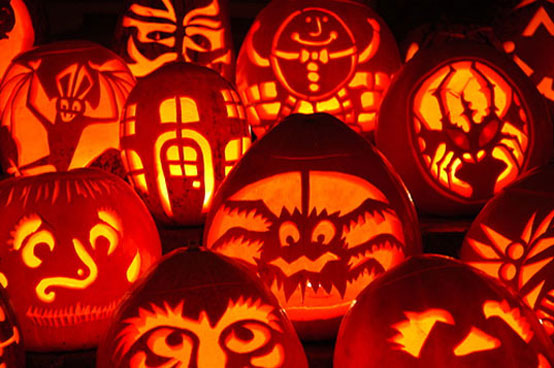
Halloween 2013 is upon us and STdepot is ready with a bunch of pumpkin carving patterns to make this Halloween truly ghastly!


Find Addtional Freebees at
spookmaster.com
and Pumpkin Masters
1. Tools and Supplies
 Find a pumpkin that is big enough to fit the pumpkin pattern you want to carve. One with a nice smooth side will make your work easier. You’ll also need a carving kit. At the very least the kit should come with small sawtooth blades. A kit might also come with a scoop and poker tool. Serious carvers might consider picking up a Zombie Pumpkins Pro Pumpkin Carving Tool.
![]()
2. Pumpkin Gutting
 Create a lid in the top of the pumpkin with a knife or sturdy carving tool, cutting at an inward angle so your lid won’t fall inside. Remove most of the seeds and strings with your hands. Then use a scoop tool or big spoon to scrape the inner walls of the pumpkin to about 1″ thick where the design will be. To get carving quicker, try thePumpkin Gutter on an electric drill.
![]()
3. Pattern Transferring
![]() After printing your pattern, trim off the excess paper around the design, and tape the pattern securely to the pumpkin. You can cut slits or pleat the paper to help it wrap around the surface. Then using a poker tool or push pin, poke holes (just enough to pierce the paper and pumpkin skin) along the lines of the pattern. Another option is to use Saral Transfer Paper, which saves time, compared to poking holes.
After printing your pattern, trim off the excess paper around the design, and tape the pattern securely to the pumpkin. You can cut slits or pleat the paper to help it wrap around the surface. Then using a poker tool or push pin, poke holes (just enough to pierce the paper and pumpkin skin) along the lines of the pattern. Another option is to use Saral Transfer Paper, which saves time, compared to poking holes.
![]()
4. Pumpkin Carving
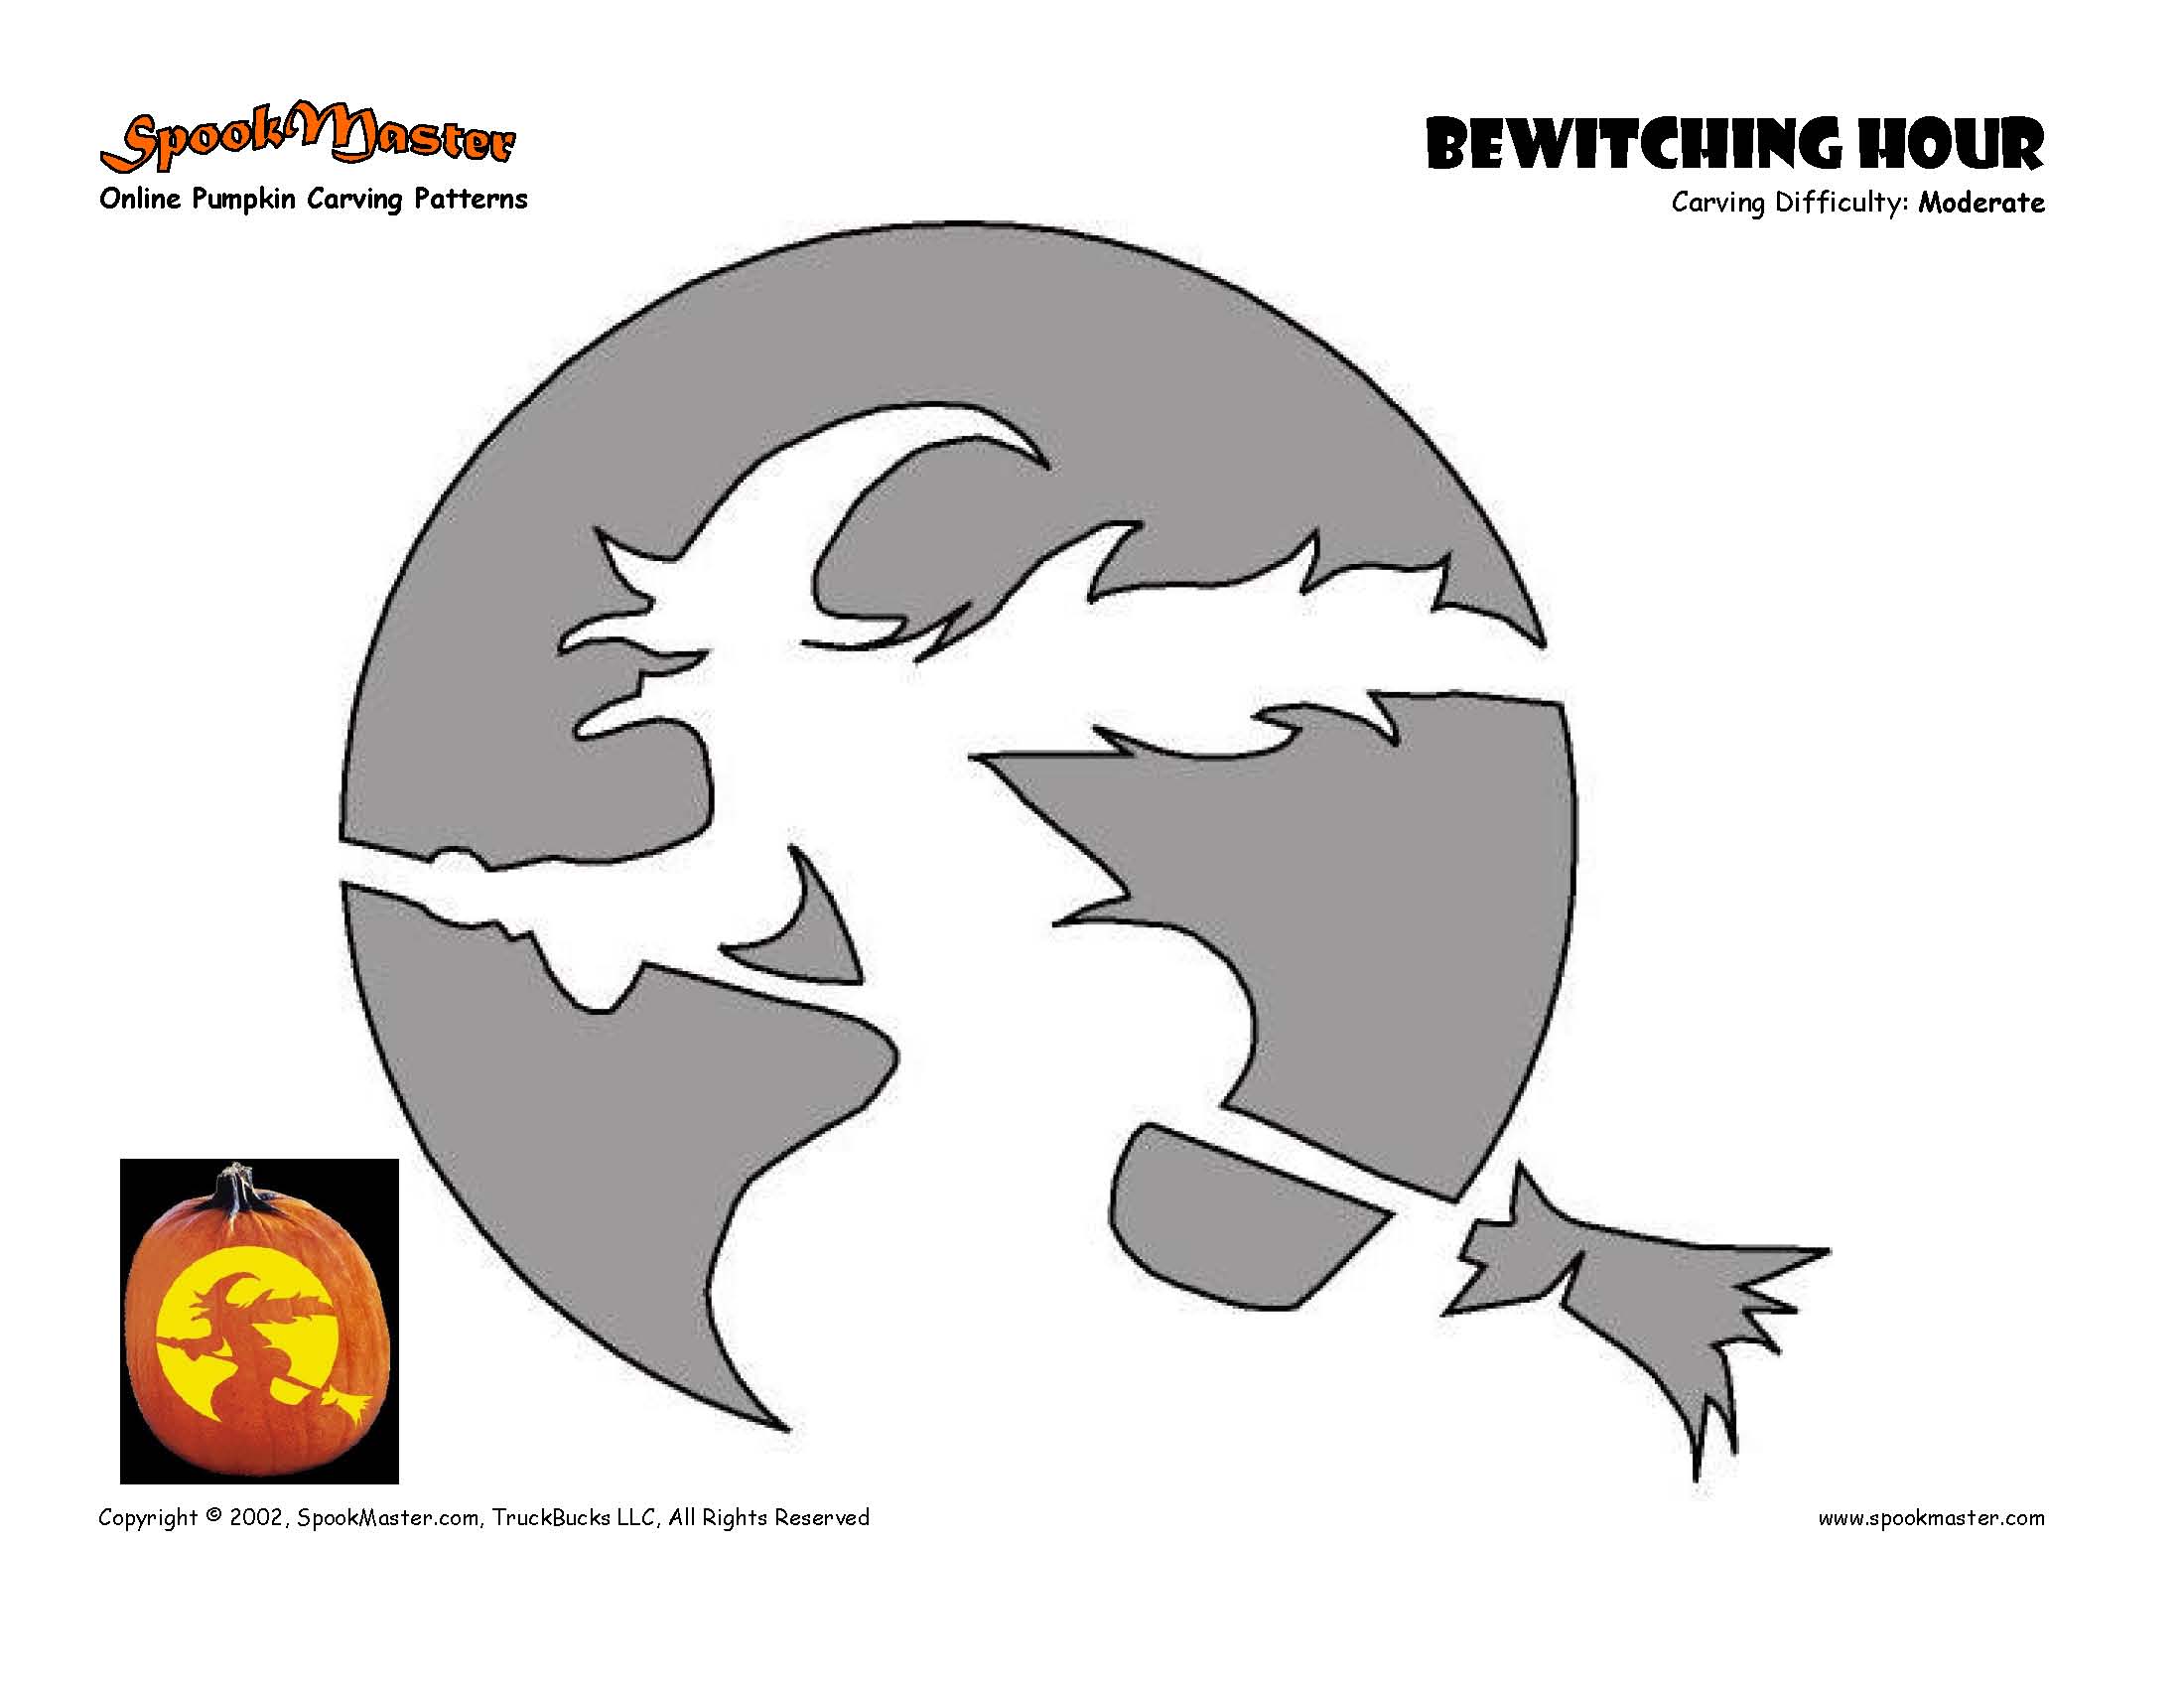
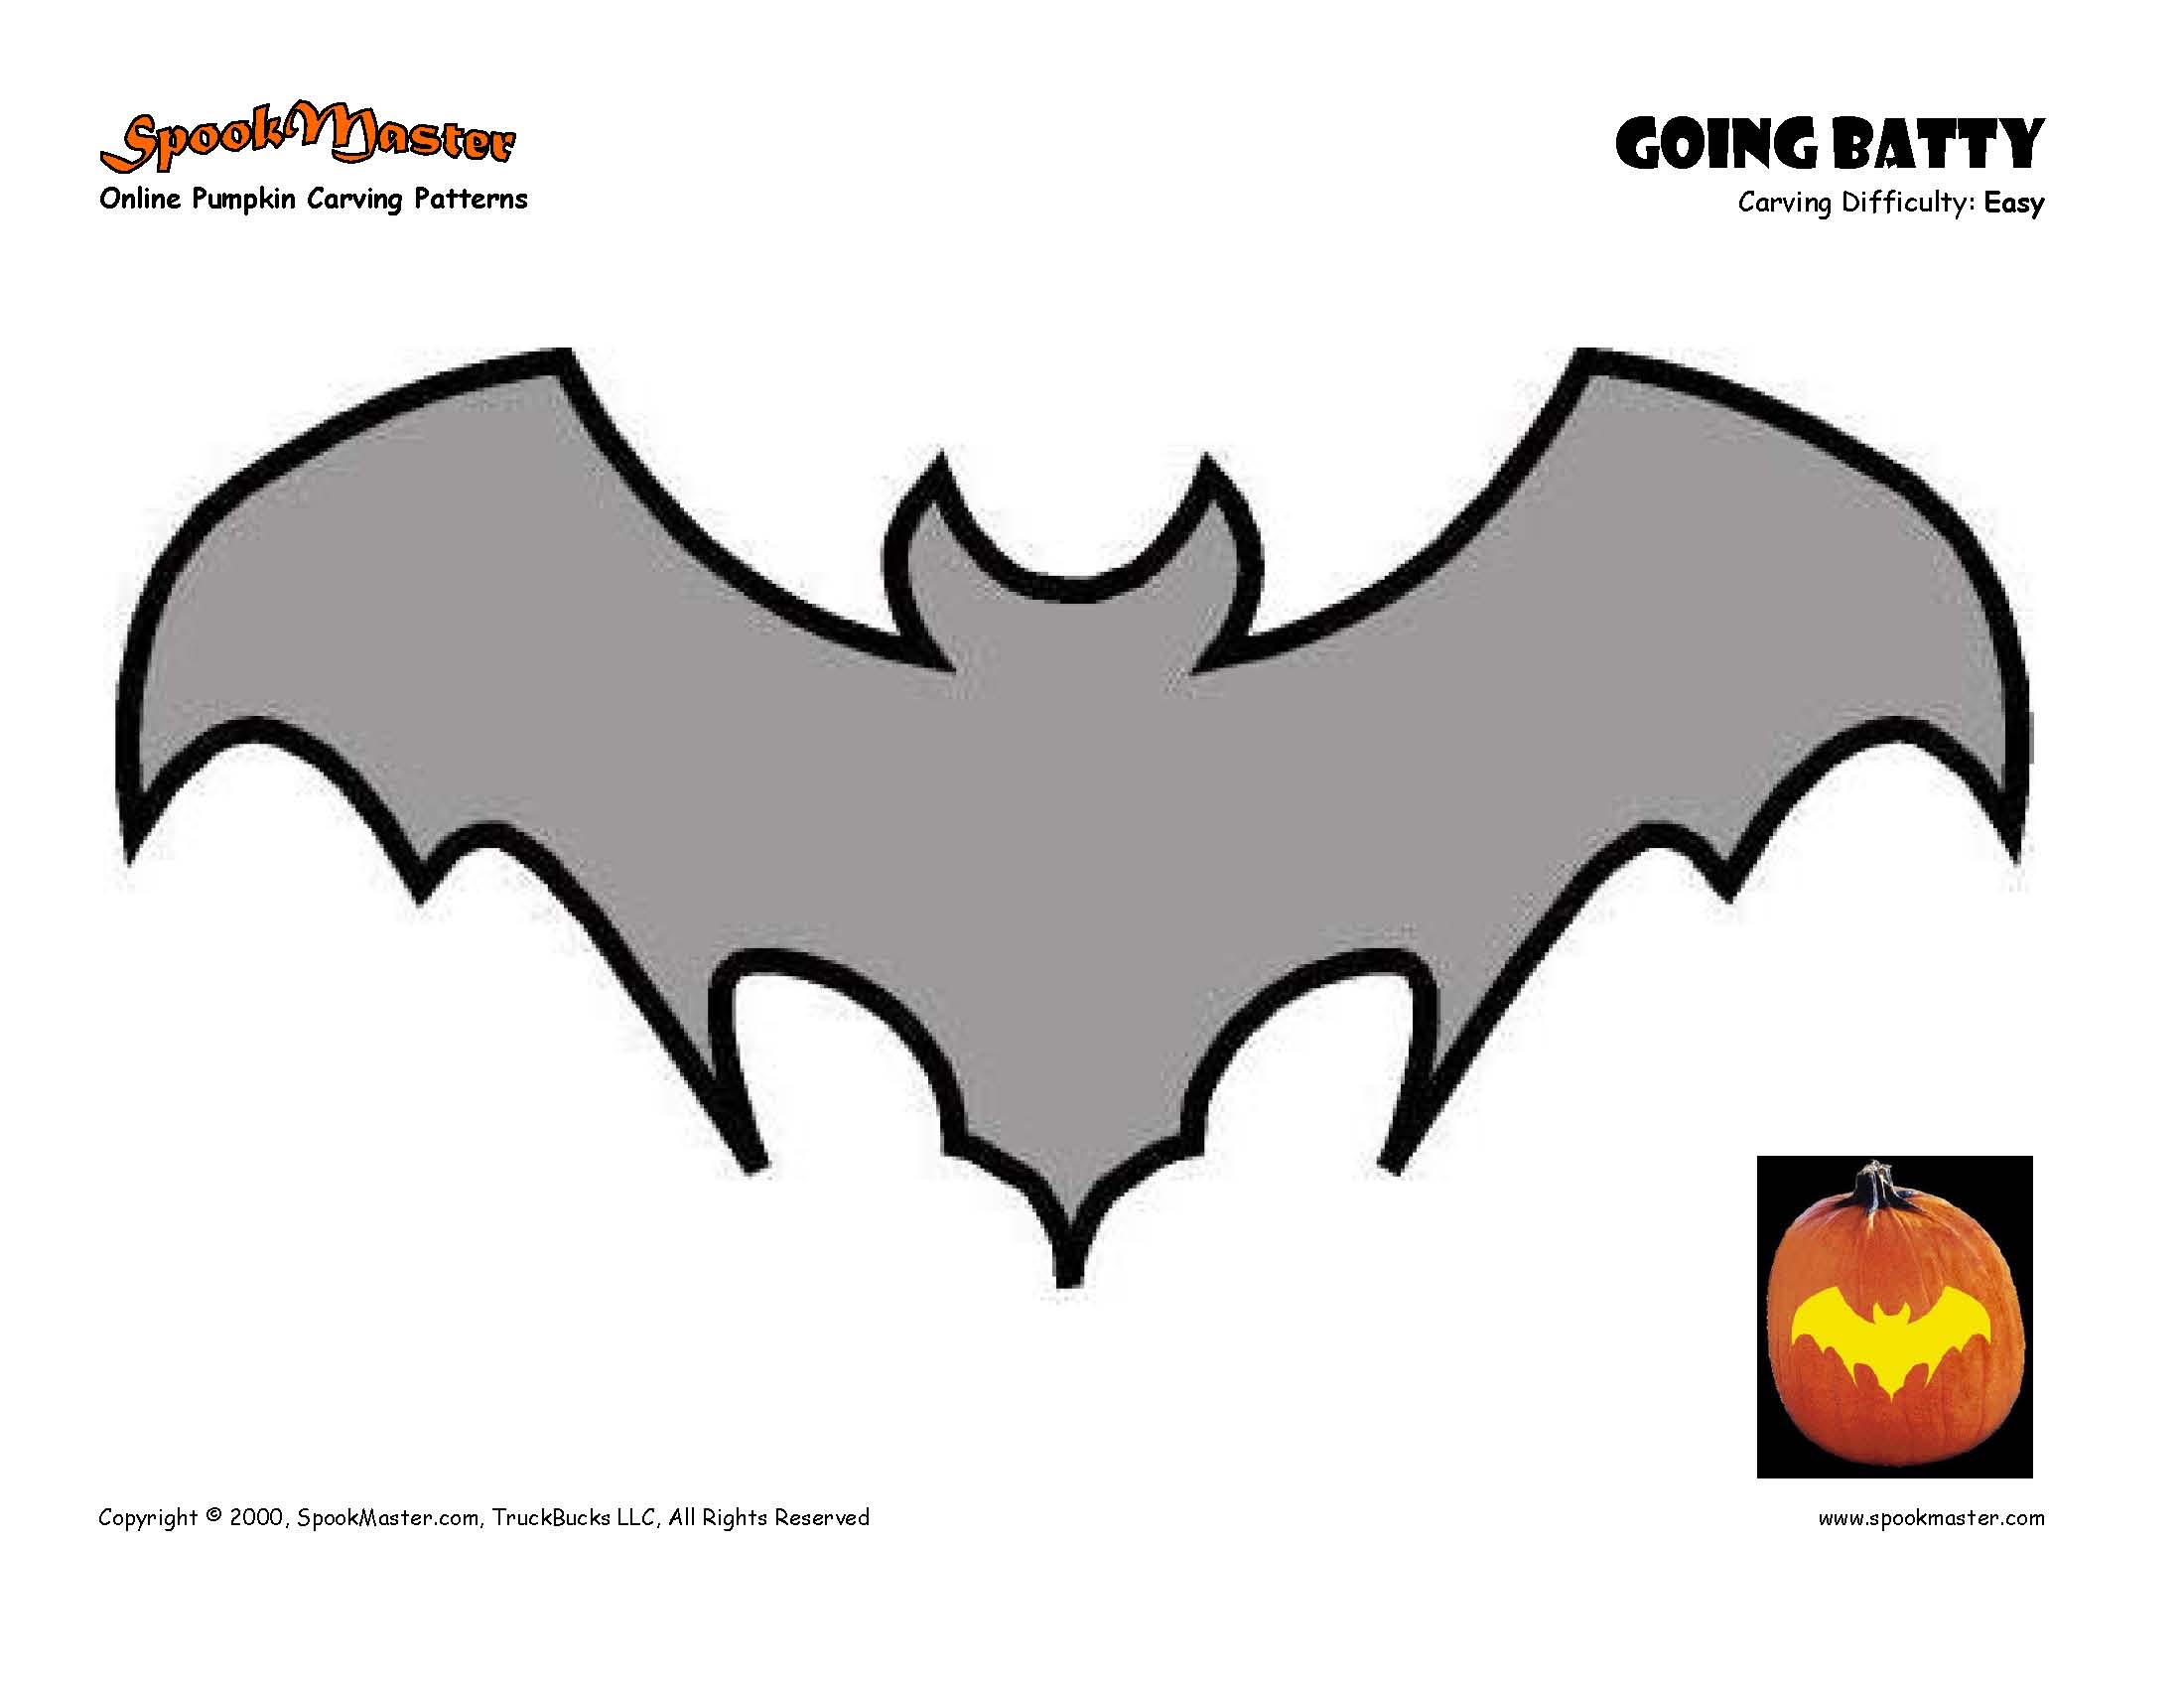
 Holding your carving saw tool like a pencil, push it straight into the pumpkin on one of the lines you transferred. Begin sawing (up and down motion) following the lines. To keep the surface stable as you carve, try to cut out the small pieces first, and work your way from the middle outward. When done carving, poke the pieces out gently. Some may have to be pushed out from the inside. Look at youroriginal paper pattern for reference. You’ll be removing the areas that are shaded grey.
![]()
5. Pumpkin Preserving
 A quick rinse in the sink will give your finished pumpkin a hydration head start. To keep the design from shriveling, you can coat the cut edges with petroleum jelly (like Vaseline) to seal in the pumpkin’s moisture. When not on display, store your pumpkin in a cool place. You can also cover the pumpkin with plastic wrap, to keep it from drying out. If your design does start to shrivel, a soak in water for a few hours can bring it back to life.
![]()
6. Pumpkin Lighting
 Light a small candle and place it inside your pumpkin. Using a glass candle holder will make it safer and prevent the flame from blowing out. A long utility lighter with a trigger can help light the candle at the bottom of the pumpkin. With a small or enclosed pumpkin, a safe step would be to cut a hole in the lid to act as a vent. To keep things extra safe, consider battery powered lights, which come in a variety of colors.
![]()
7. Pumpkin Photography
 Find a dark location. Try using some subtle indirect light to show a hint of the pumpkin surface, while letting the inner glow shine brightest. Camera flash will over-light the surface of the pumpkin, so turn off the flash. Steady your camera on something stable, a tripod if you have one. If your camera allows, try different exposure times and aperture settings, to get the desired effect.
![]()